- Original Release: 2000
- Developer: 14 Degrees East
- Publisher: Interplay
- Platform: PC
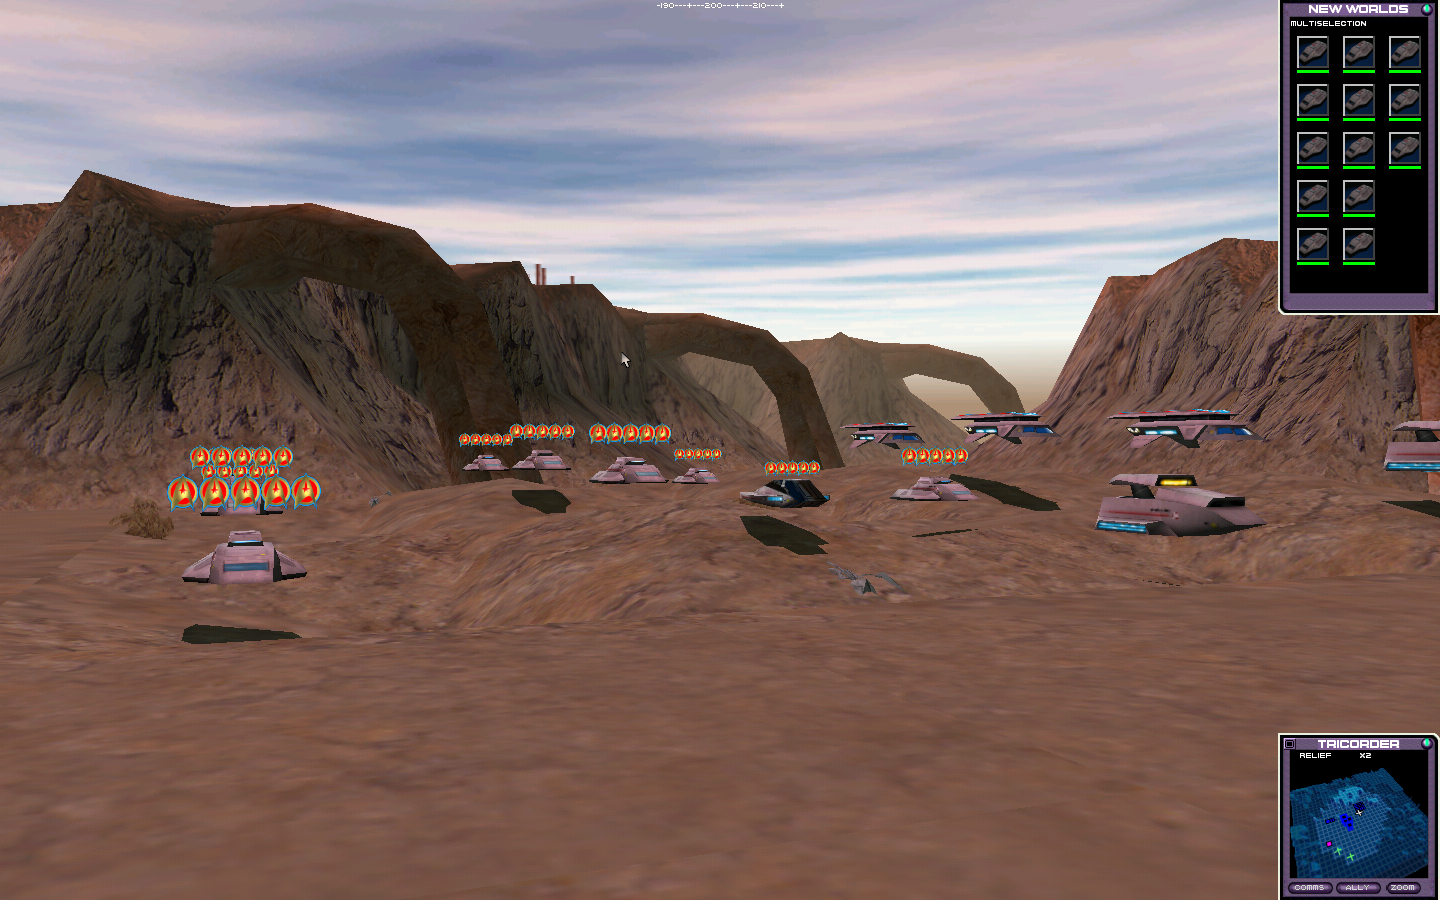
A few months after Star Trek Armada came out, we got another real time strategy game set in the Star Trek universe. This is a more traditional ground based one similar to Command & Conquer. Star Trek isn’t exactly known for large scale ground combat, so this takes a lot of liberties.
It’s set in a new solar system thar suddenly appeared after a Romulan’s weapons test went wrong. As the location happens to be on an intersection of Federation, Klingon and Romulan territory, it’s a good opportunity for them to colonise this new world and kill each other for its resources. You eventually encounter a race that already lives on the planet, so you kill them, too. With all these random ground vehicles, recognisable Star Trek elements and designs are few and far between.
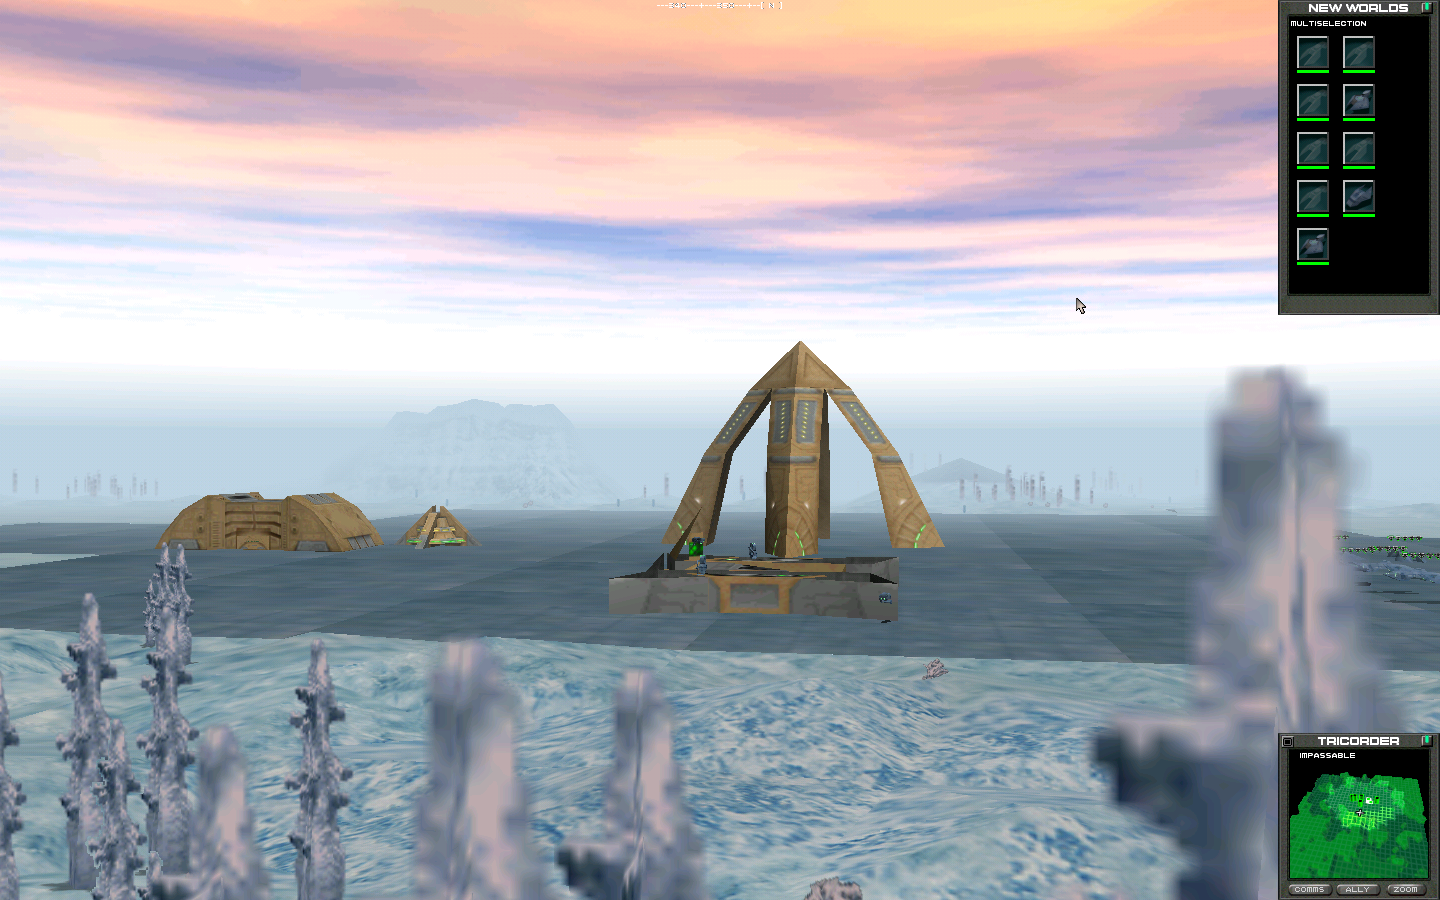
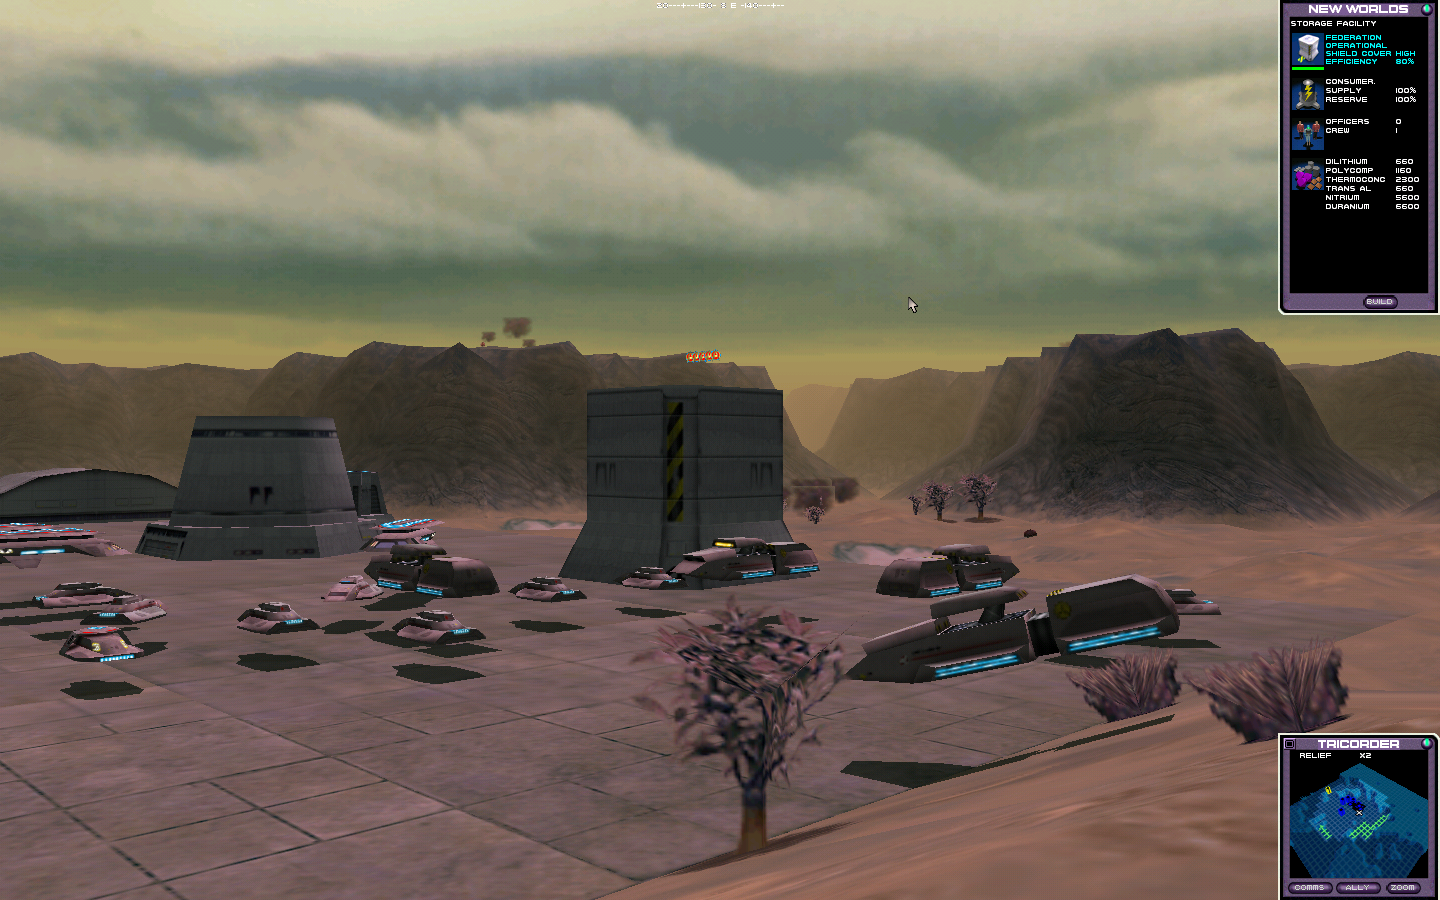
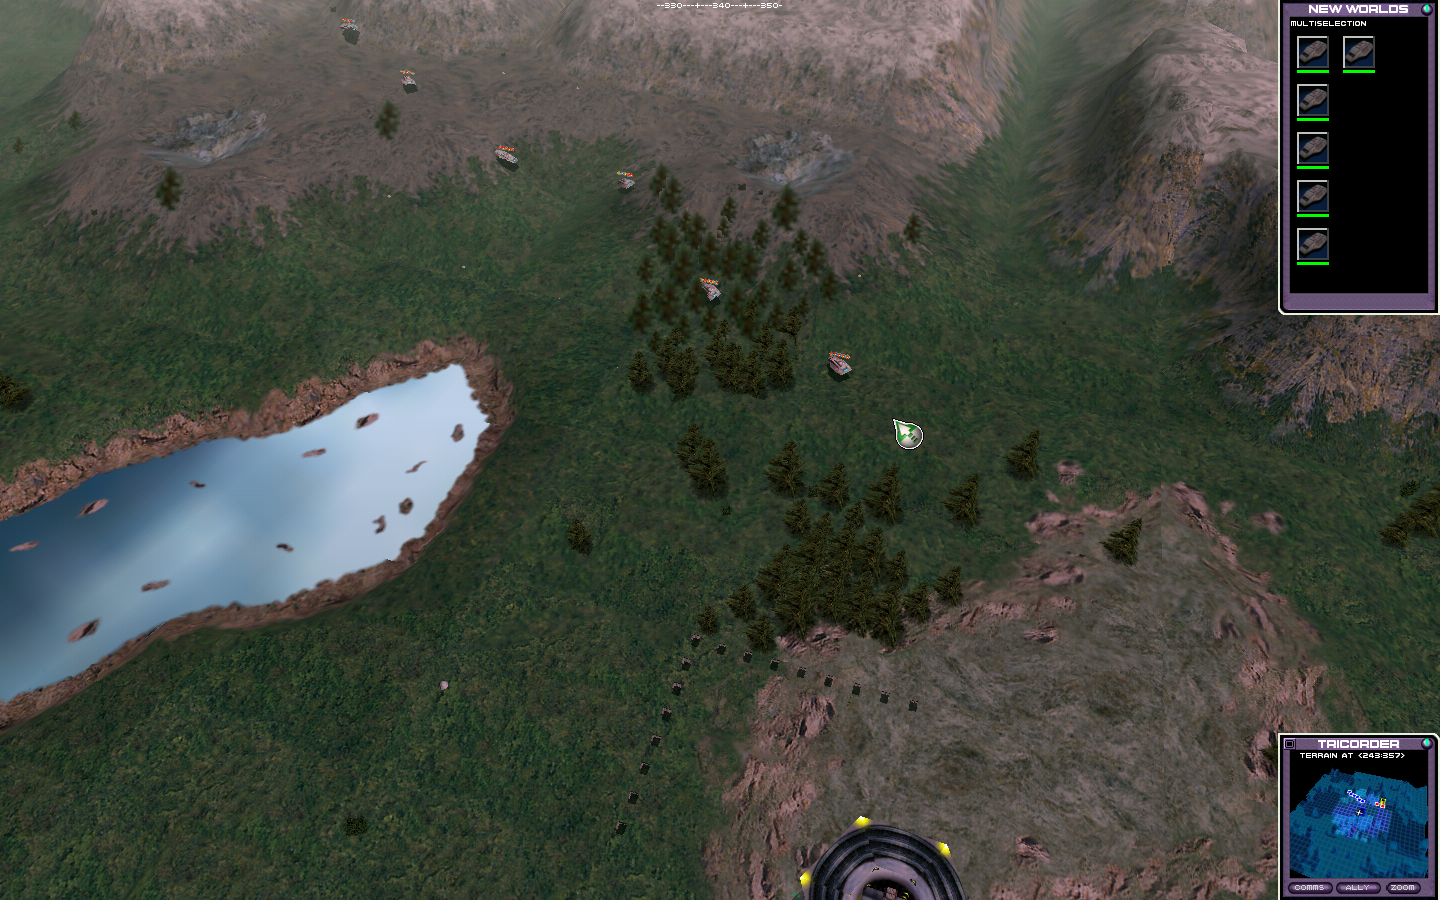
The best thing about this game is the camera. There’s a lot of options for moving the camera around and looking at the fully 3D landscape. It seems odd to praise a camera, but I’m having a hard time thinking of other good things to say about this game, other than the opening and ending FMV cutscenes.

The gameplay is extremely tedious. One major RTS element this game throws out is the fog of war system. You can see the landscape of the whole area, but can only see objects near your units. This means that you have absolutely no idea which parts of the map you have previously explored. Units are also very slow at responding and it can take minutes for them to travel where they need to go. This game really needed speed options due to how long everything takes.
To make matters worse, these very long missions have to be completed in one go, as there’s no save feature at all – only which missions you’ve unlocked. There are also six different resources to manage, as well as moving officers to locations to complete objectives.
Where to get
How to play Star Trek: New Worlds on Windows 11
This one is tricky, with some things that only work on certain installations. I’m going to go through the full steps combined, but some (such as FAT32) are only required for some systems – but I think it’s easier to do the full method rather than trying parts.
Requirements:
- A 1GB USB drive that is formatted to FAT32. If you don’t have a USB drive (or memory card) this small, you can use Disk Management to create a new partition that is 1GB in size. I only recommend doing this on a USB drive you don’t use.
- The ISO from the Archive.org link
- The files “WineD3DForWindows_3.9.zip” and “WineD3DForWindows_1.7.52.zip” From the Wine3D3 Archives
Basic Installation:
- Mount the ISO, Windows can do this itself..
- Right click on “Setup.exe” and run as Administrator. Choose the FAT32 USB drive as the installation location (if you miss this, you can copy the data over.
Ensuring Videos Work
- Open Registry Editor
- Navigate to HKEY_LOCAL_MACHINE\Software\Wow6432Node\Interplay\StarTrekNewWorlds\1.0.0 (You may need to make the registries from Interplay onwards).
- If there is no String called “CDRom” create it. Edit it so that the drive letter matches your mounted CD of New Worlds (for example “E:\”.
Updating Game for Modern Systems
- Open up “WineD3DForWindows_3.9.zip” any copy the files ddraw.dll, libwine.dll and wine3d.dll
- Paste these into the main folder of the game on your USB drive (the same folder that contains “STNW.exe”.
- Launch the game and start the first level or tutorial to test.
- If this doesn’t work, open up “WineD3DForWindows_1.7.52.zip” and copy the files ddraw.dll, libwine.dll and wine3d.dll, replace the previous ones and try again.
Setting up Widescreen
- Go to the game folder and open “Game.ini”.
- Set “GAMEXRES=” and “GAMEYRES=” to the resolution you want. Maximum 1280×1024 or 1440×900 for Widescreen.
- (Optional) To unlock all missions, add “00” to the end of all the “XLEVEL=” values. For example, “FEDLEVEL=1” becomes “FEDLEVEL=100”
- Save the file.
- Thew game should now be ready to play.
Browse Games By Year
1971, 1972, 1973, 1974, 1975, 1976, 1977, 1978, 1979
1980, 1981, 1982, 1983, 1984, 1985, 1986, 1987, 1988, 1989
1990, 1991, 1992, 1993, 1994, 1995, 1996, 1997, 1998, 1999
2000, 2001, 2002, 2003, 2004, 2005, 2006, 2007, 2008, 2009
2010, 2011, 2012, 2013, 2014, 2015, 2016, 2017, 2018, 2019


I low key kinda like this game. Despite all it’s issues. The big one being building and unit control could be unintuitive.
I liked it I think. It was buggy & when operating systems upgraded it got lost. It was easier to install than Dominion Wars! I was 15, not truly tech savvy & I got it working.
I didn’t get very far. Skirmish mainly.
Never heard of that one.
I got this game when it came out and played all the way until the final mission where the game would just consistently crash, so I couldn’t finish it.
I don’t think I’ve ever heard of this one. Looks cool.
It was a disappointing game. I always wanted a Trek mod of Ground Control, since it has a fantastic set of units and mechanics. A Trek RTS needs to be primarily infantry based, and embrace mass beaming, while even the smallest vehicle would be a super unit, until mid game.
SEO for this game is toast, SNW blew it out of the water lmao. Gotta add “star trek new worlds game” to find it
The one legacy of this game is introducing an entirely new, good-looking pre-TNG Romulan Warbird, which everyone took to be the type of Warbird that attacked Narendra III. It’s still around in the Trek game modding communities.
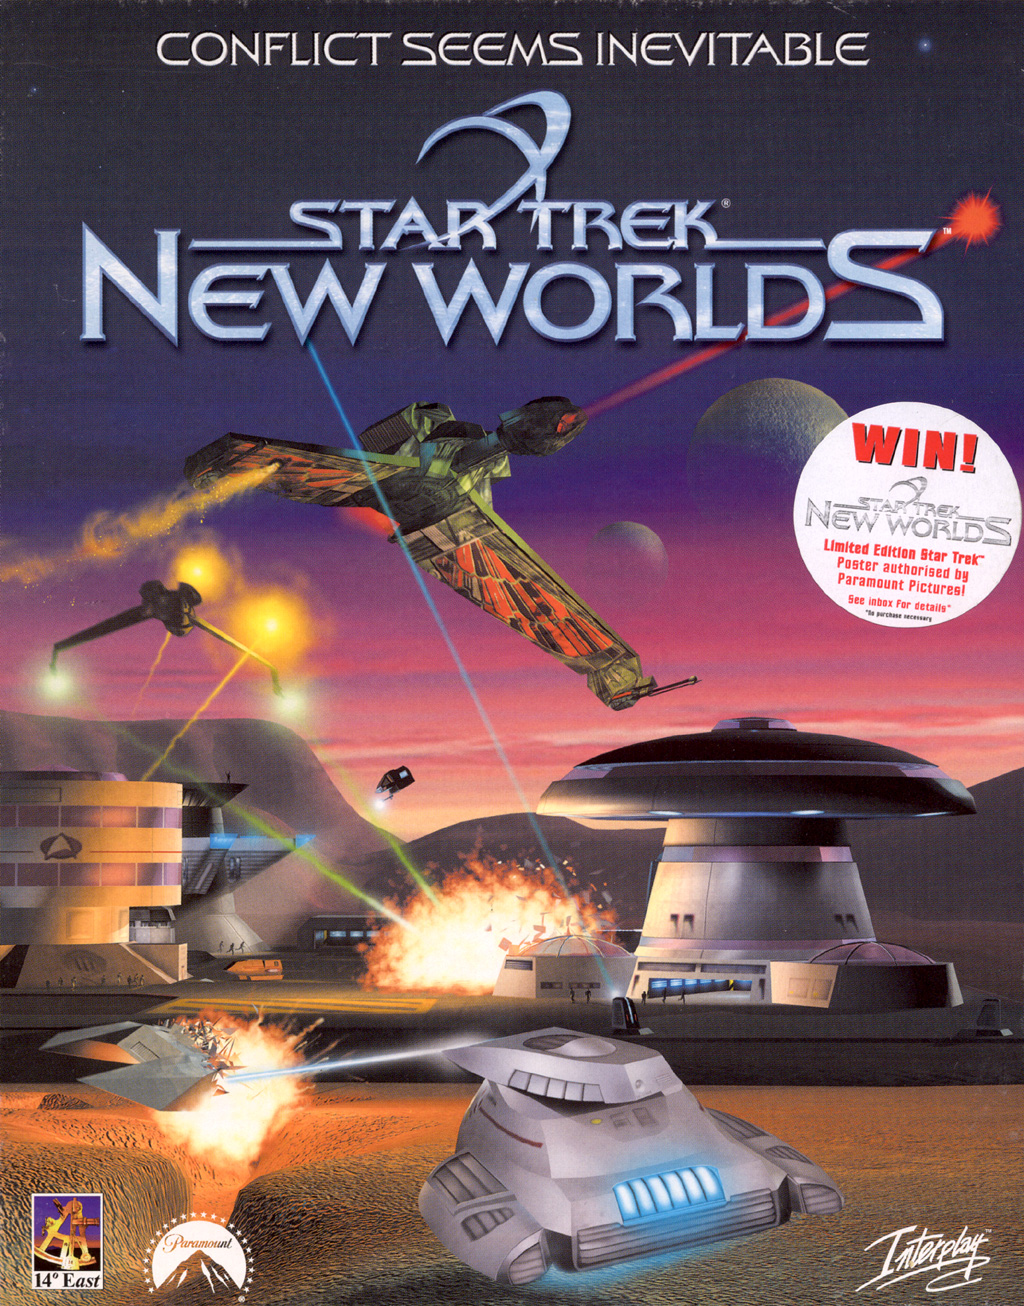
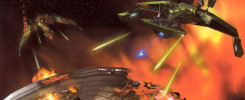
The ad art of the crashed Connie was amazing
I was waiting this game a lot back in the day. I remember being excited because of that promo screenshot with the crashed constitution class, but once I got the game, I honestly struggled too much with the controls to really have fun with it, but I liked the idea and art design.
It took me ages to even get the version from Collection Chamber working but someone put instructions in comments on their site. I played the demo years ago and it wasnt too bad but ill have to try the full game